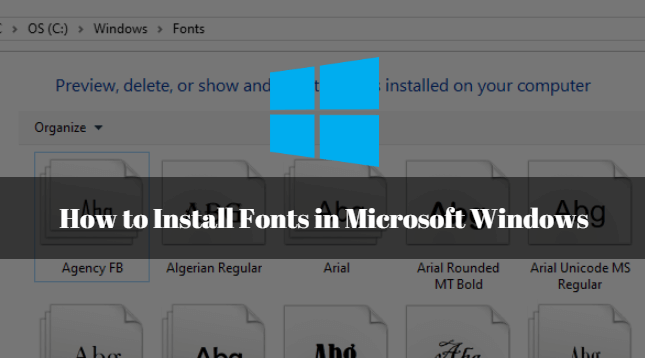
In this article we are going to learn How to install fonts in Microsoft windows. By default windows comes with so many fonts which is enough for normal use but if you are professionally working in designer application like Photoshop, Coral draw, Video editor or any thing related to designing works like Wedding card, Business card maker in that case There may be requirement of some extra fonts which is not included in default fonts list. You have to download required fonts from internet and install it manually. Here in this article I will show you How to do so. So let’s get started.

Follow the below steps to install fonts in Microsoft windows:
It’s very simple to install font in Microsoft Windows. You have to follow simple 4 steps to install the same. First download the required font from Internet. I would recommend to download it from Googles font Website.
The downloaded file would be in zip format. Just extract the downloaded file then you will get the actual font files. extension of font files are .ttf.
Now to install the downloaded fonts follow the below steps :
Go to start menu then click on Control Panel. Then click on fonts from the available options Or just open the run dialogue box by pressing WIN+R button on keyword and type fonts.
After above step the Fonts directory will open in front of you. Refer the snapshot below, Now just copy the downloaded font files i.e. .ttf files and paste on Fonts directory.

Also Read – How to Add and Install New Fonts in Fedora 30 Linux Workstation
That’s all, In this article, we have explained How to Install Fonts in Microsoft Windows. I hope you enjoy this article. If you like this article, then just share it. If you have any questions about this article, please comment.
