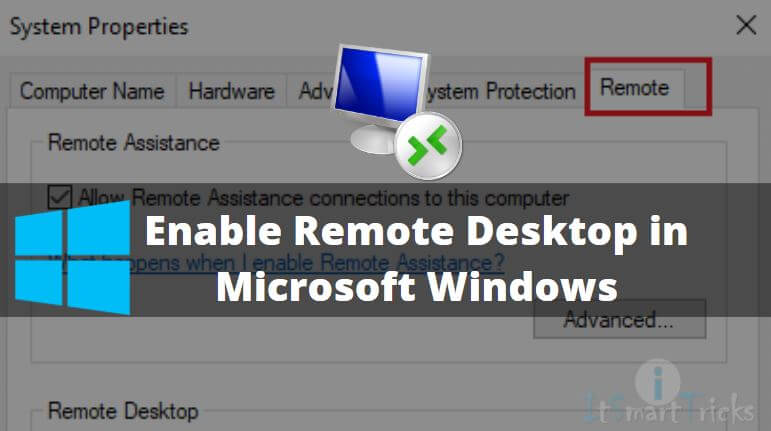
In this article, we are going to learn How to enable Remote Desktop in Windows. It’s an application/product of Microsoft Windows that can be used to take remote of other windows systems that are in the same network. It’s a completely easy and user-friendly application to use. This application comes with various features mentioned below.
- Set display quality settings as per your requirement,
- Configure audio settings.
- Use keyword shortcuts to switch between the local computers and remote computers.
- Use local system resources like printer, local hard disk drives, Clipboard on the remote system easily.
- You can set the program that you want to start at startup on a remote computer.
- Save your current connection for future use as an RDP file.
To take remote of any system using this application you have to enable the connection on the remote system. In this article, I will guide how to do so. So let’s get started.

Follow the below steps to enable Remote Desktop in Microsoft Windows:
It’s very simple to enable Remote Desktop in Microsoft Windows. You have to follow simple steps to do to.
- Right-click on Computer icon (Available on desktop) and click on Properties.
- After the above step, you will get the System Properties window in front of you.
- Here just click on Remote Settings.
Or Open Control Panel>All Control Panel Items>System

- Now here we have two sections i.e. Remote Assistance and Remote Desktop.
- We are concern with Remote Desktop. in that section, you will get three options. Just select the second option i.e. Allow connections from computers running any version of Remote Desktop (less secure).

That’s It. Now you can take remote of the system from any other system using the Remote Desktop connection tool. To open the application Press the WIN+R button on the keyboard -> type the command mstsc and then press ENTER.

Also Read – How to Set Up a Zoom Meeting With Zoom App
Enable Remote Desktop using Command Prompt:
To Enable the remote desktop with Command Prompt, Open Command Prompt with the administrator and enter the below command.
reg add "HKEY_LOCAL_MACHINE\SYSTEM\CurrentControlSet\Control\Terminal Server" /v fDenyTSConnections /t REG_DWORD /d 0 /f
Disable Remote Desktop using Command Prompt:
To disable the remote desktop with Command Prompt, Open Command Prompt with the administrator and enter the below command.
reg add "HKEY_LOCAL_MACHINE\SYSTEM\CurrentControlSet\Control\Terminal Server" /v fDenyTSConnections /t REG_DWORD /d 1 /f
That’s all, In this article, we have explained How to Enable Remote Desktop in Microsoft Windows. I hope you enjoy this article. If you like this article, then just share it. If you have any questions about this article, please comment.
