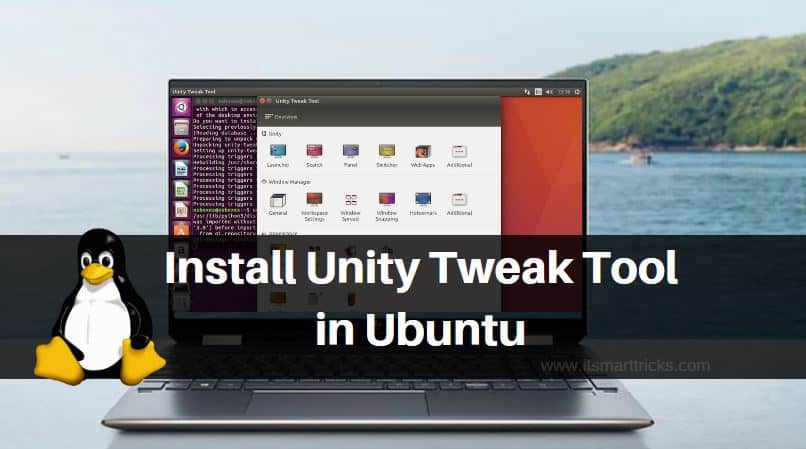
In this article, we are going to learn How to install Unity Tweak Tool in Ubuntu. Unity Tweak Tool is a popular Ubuntu tweak tool used to customize Ubuntu operating system. Unity Tweak Tool is divided into 4 parts explained below :
- Unity : This option is responsible for customizing the below settings :
1. Launcher : Used to customize Launcher settings like Urgent Animation, Transparency Level, Icon Backgrounds, Show Desktop Icon, Icon Size, etc…
2. Search : You can set search settings using this option like Enable Search of your files, Show Recently used application, Show more suggestions, Enable/Disable search online resources..etc..
3. Panel : panel option is responsible for settings like Set time in 12/24 Hours format, Power option, Sound Volume, Bluetooth, Menu Visible time..etc..
4. Switcher : Using this option you can do settings like Switch between minimized windows, Switch between windows on all workspaces..etc..
- Windows Manager : This feature is responsible to customize options like Desktop Magnification, Windows Snapping, Hot corners…etc..
- Appearance : This feature is used to set/change your Theme, Icons, Font, Cursor…etc..
- System : This option is responsible for settings like Scrolling, Desktop settings and Security related settings.
Overall Unity Tweak Tool is a nice application to customize your Ubuntu system.

Follow the below steps to install Unity Tweak Tool in Ubuntu – A Popular Ubuntu Tweak Tool
Before starting the installation of the Unity Tweak Tool let’s update the packages and repositories of Ubuntu using below command.
itsmarttricks@ubuntu:~$ sudo apt-get update   # Update Packages & Repositories
Hit:1 http://security.ubuntu.com/ubuntu xenial-security InRelease
Hit:3 http://us.archive.ubuntu.com/ubuntu xenial InRelease
Hit:4 http://us.archive.ubuntu.com/ubuntu xenial-updates InRelease
Hit:2 http://screenshots.getdeb.net xenial-getdeb InRelease
Hit:5 http://us.archive.ubuntu.com/ubuntu xenial-backports InRelease
Reading package lists... Done
After the update the packages & repositories now we are ready to install Unity Tweak Tool. To install so we don’t have to install any 3rd PPA repository as it’s a part of the default repository of Ubuntu. So use the below command to install the same.
itsmarttricks@ubuntu:~$ sudo apt-get install unity-tweak-tool   # Install Unity Tweak Tool
[sudo] password for itsmarttricks:
Reading package lists... Done
Building dependency tree
Reading state information... Done
The following NEW packages will be installed:
  unity-tweak-tool
0 upgraded, 1 newly installed, 0 to remove and 247 not upgraded.
Need to get 376 kB of archives.
After this operation, 2,864 kB of additional disk space will be used.
Get:1 http://us.archive.ubuntu.com/ubuntu xenial/universe amd64 unity-tweak-tool all 0.0.7ubuntu2 [376 kB]
Fetched 376 kB in 2s (175 kB/s)
Selecting previously unselected package unity-tweak-tool.
(Reading database ... 211910 files and directories currently installed.)
Preparing to unpack .../unity-tweak-tool_0.0.7ubuntu2_all.deb ...
Unpacking unity-tweak-tool (0.0.7ubuntu2) ...
Processing triggers for gnome-menus (3.13.3-6ubuntu3.1) ...
Processing triggers for desktop-file-utils (0.22-1ubuntu5) ...
Processing triggers for bamfdaemon (0.5.3~bzr0+16.04.20160824-0ubuntu1) ...
Rebuilding /usr/share/applications/bamf-2.index...
Processing triggers for mime-support (3.59ubuntu1) ...
Processing triggers for man-db (2.7.5-1) ...
Processing triggers for libglib2.0-0:amd64 (2.48.2-0ubuntu1) ...
Processing triggers for hicolor-icon-theme (0.15-0ubuntu1) ...
Setting up unity-tweak-tool (0.0.7ubuntu2) ...
As you can see above we have successfully installed the Ubuntu Tweak Tool package. To confirm the same refer the below command.
itsmarttricks@ubuntu:~$ sudo dpkg -l unity-tweak-tool   # Confirm the installed package
Desired=Unknown/Install/Remove/Purge/Hold
| Status=Not/Inst/Conf-files/Unpacked/halF-conf/Half-inst/trig-aWait/Trig-pend
|/ Err?=(none)/Reinst-required (Status,Err: uppercase=bad)
||/ Name                                 Version                 Architecture            Description
+++-====================================-=======================-=======================-=============================================================================
ii  unity-tweak-tool                     0.0.7ubuntu2            all                     configuration tool for the Unity desktop environment
Now to open the application just type the command unity-tweak-tool on the shell prompt. Refer to the command below.
itsmarttricks@ubuntu:~$ unity-tweak-tool # Open Ubuntu Tweak Tool
You can also open the Unity Tweak Tool graphically using the Search your computer box.
Also Read – How to Install Numix Circle Icon Theme and Numix Theme in Ubuntu – A Best Ubuntu Icon Pack
How To Uninstall Unity Tweak Tool On Ubuntu?
To uninstall the Ubuntu Tweak tool use the below command.
itsmarttricks@ubuntu:~$ sudo dpkg -r unity-tweak-tool   # Uninstall the application
(Reading database ... 212076 files and directories currently installed.)
Removing unity-tweak-tool (0.0.7ubuntu2) ...
Processing triggers for hicolor-icon-theme (0.15-0ubuntu1) ...
Processing triggers for libglib2.0-0:amd64 (2.48.2-0ubuntu1) ...
Processing triggers for man-db (2.7.5-1) ...
Processing triggers for gnome-menus (3.13.3-6ubuntu3.1) ...
Processing triggers for desktop-file-utils (0.22-1ubuntu5) ...
Processing triggers for bamfdaemon (0.5.3~bzr0+16.04.20160824-0ubuntu1) ...
Rebuilding /usr/share/applications/bamf-2.index...
Processing triggers for mime-support (3.59ubuntu1) ...
That’s all, In this article, we have explained How to Install Unity Tweak Tool in Ubuntu – A Popular Ubuntu Tweak Tool. I hope you enjoy this article. If you like this article, then just share it. If you have any questions about this article, please comment.
