Today we will see ‘Step By Step Configure Hikvision NVR(DS-8664NI-I8). In the NVR of the DS-8664NI-I8 Hikvision, you can add up to 64 cameras. If you want to put a lot of cameras, multiple NVR configurations will have to be done. In this NVR, we can put 8 SATA hard disks and can also put 1 eSATA hard disk. The hard disk storage capacitance should be ‘500GB,1TB,2TB, 3TB ,4TB,5TB Or 6TB’. Before configuring the Hikvision NVR, install the hard disk in NVR. Now install the LAN cable, monitor, mouse, and power On the NVR.
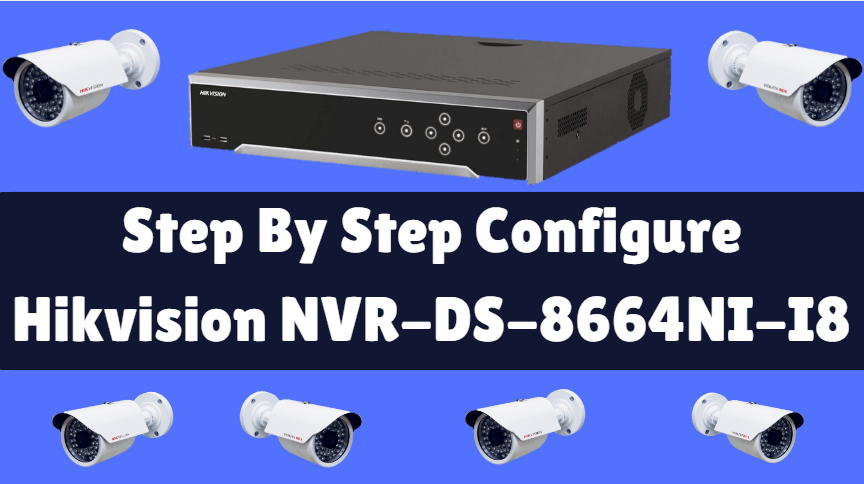
Requirement-
- NVR
- Harddisk
- LAN Cable
- Monitor
- Mouse
Follow the below steps to Configure Hikvision NVR:
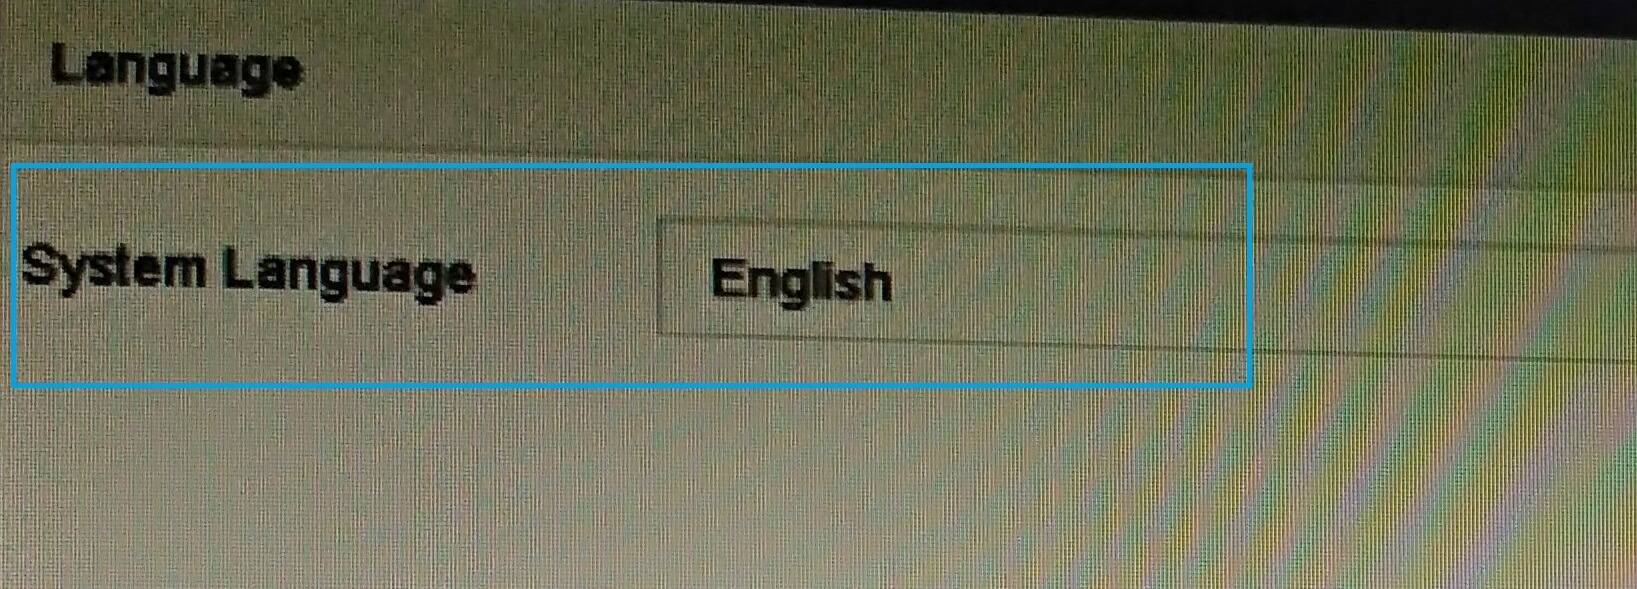
Power on the NVR and follow the instructions as shown in the snapshot below. First of all, you have to activate the user id and password. Now select your language here and click on the Next button.
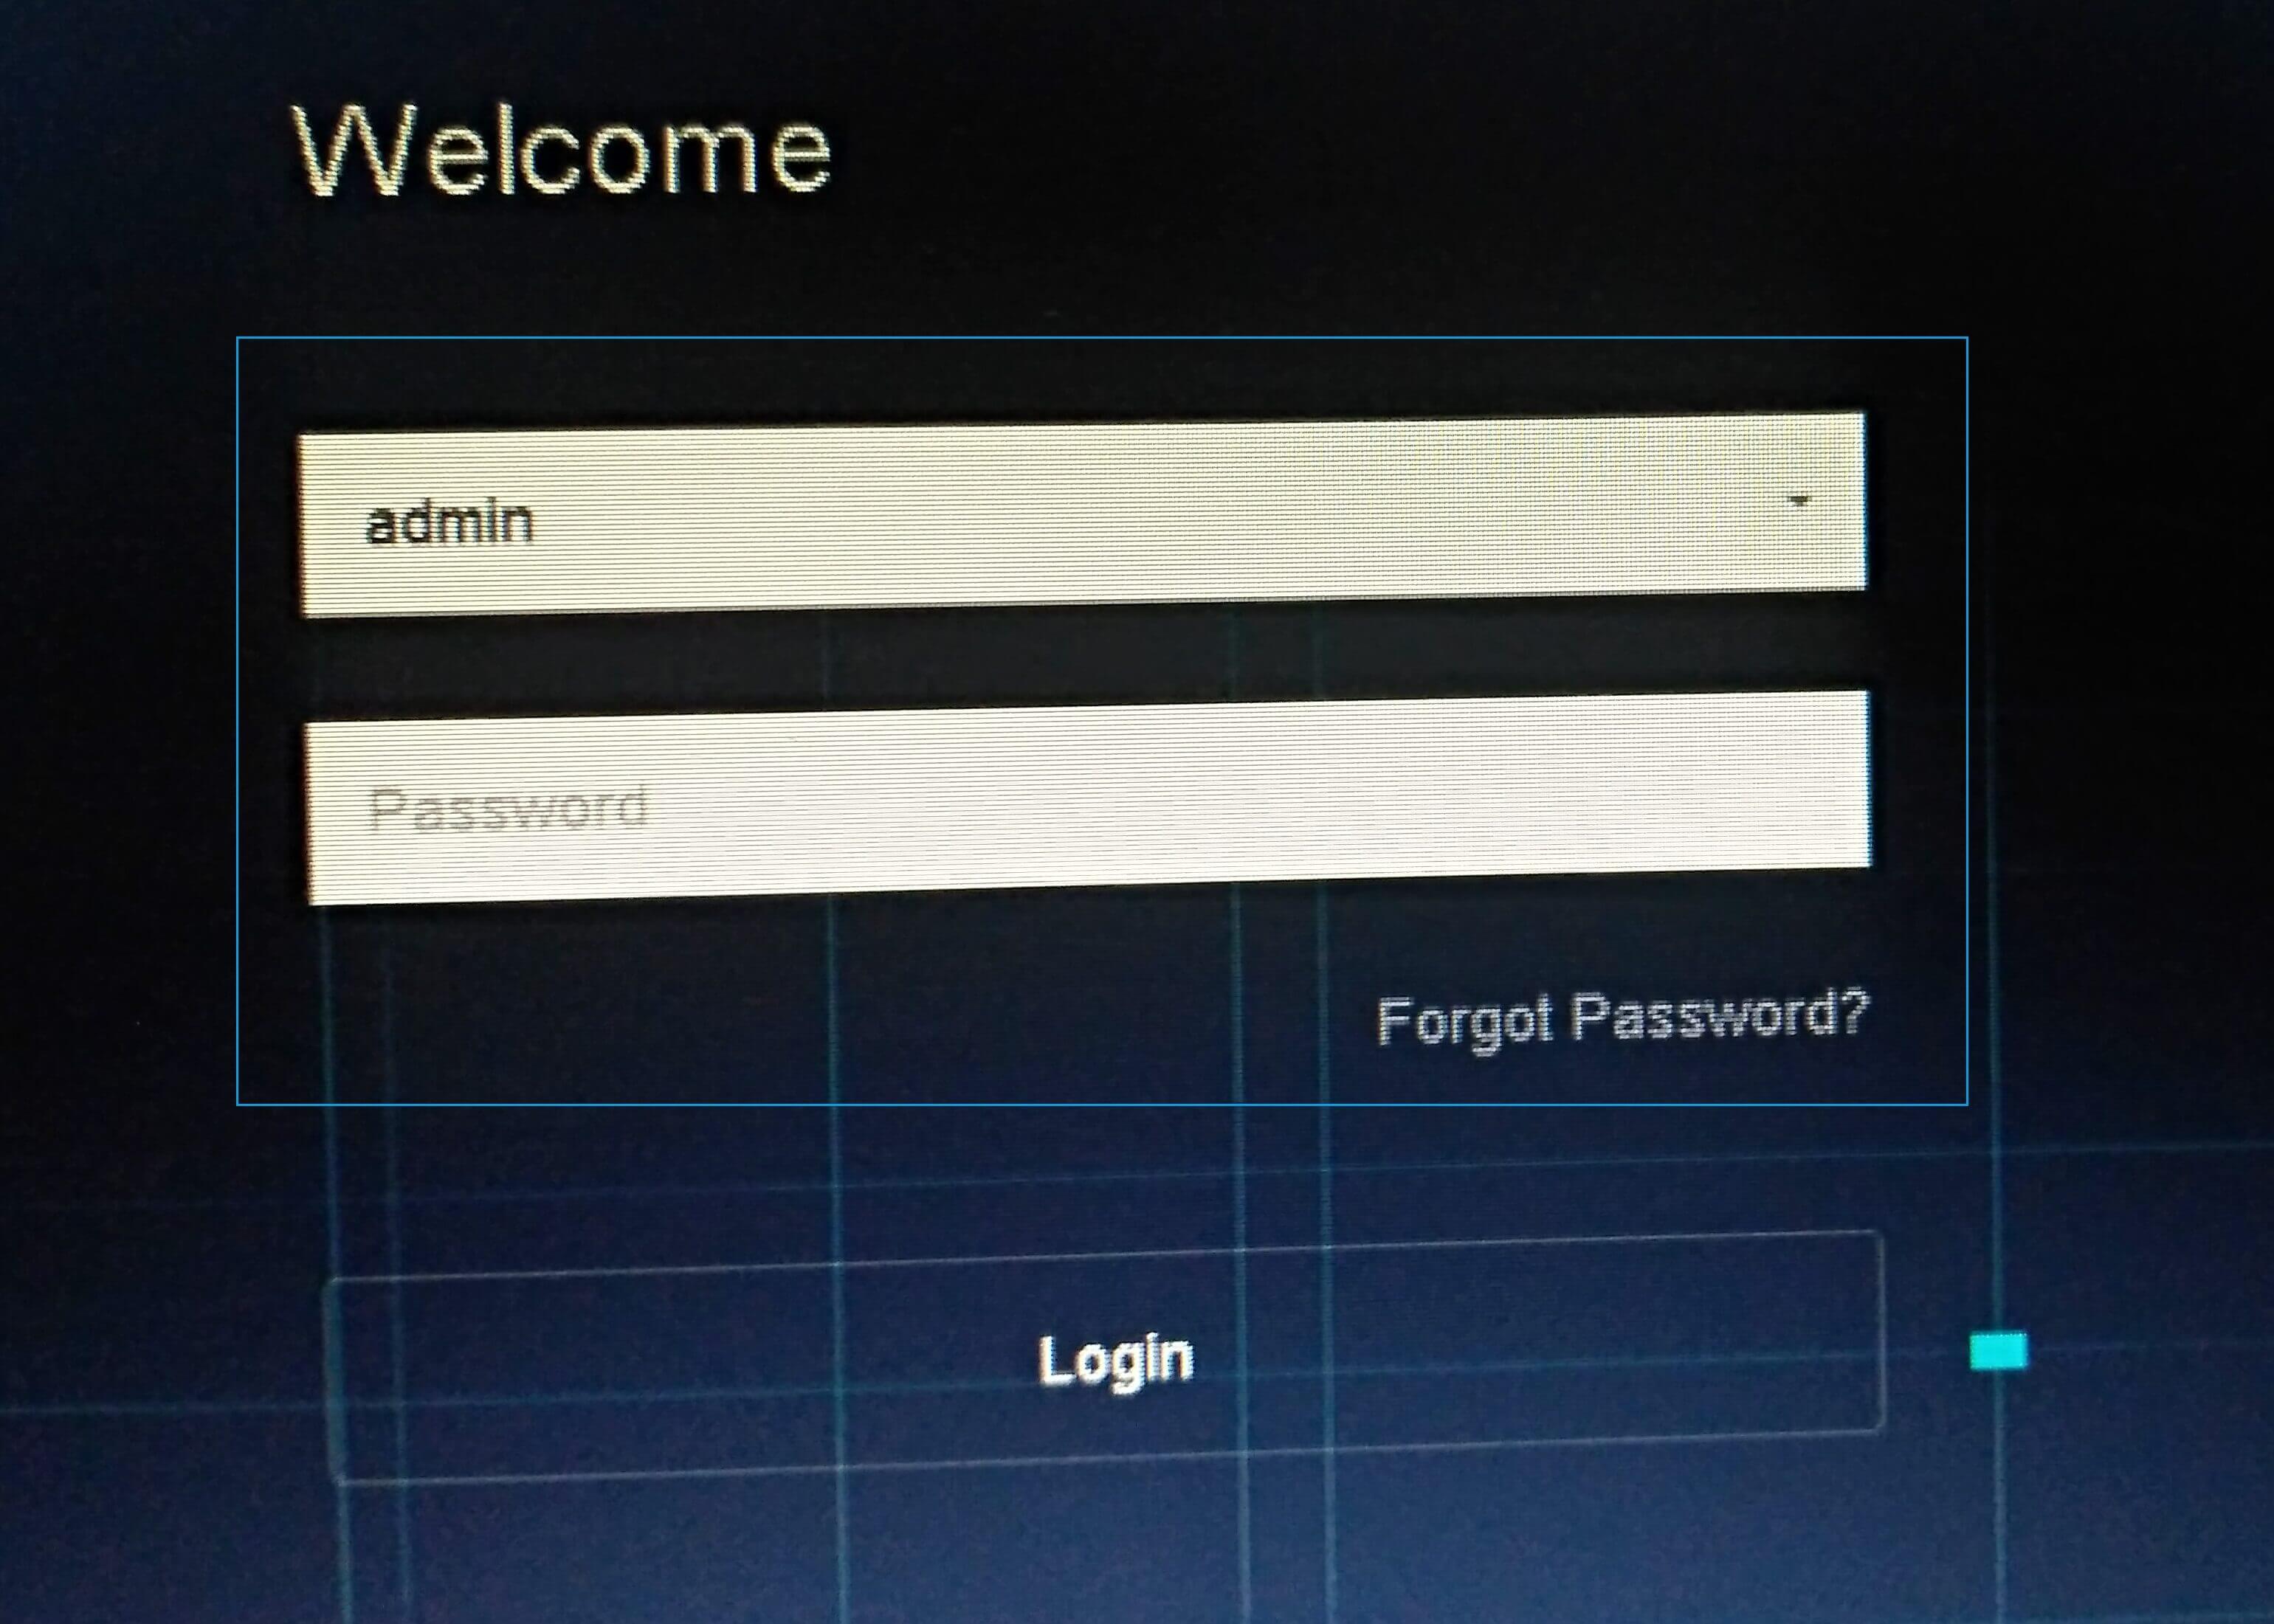
By entering the Username and password you set, login here.
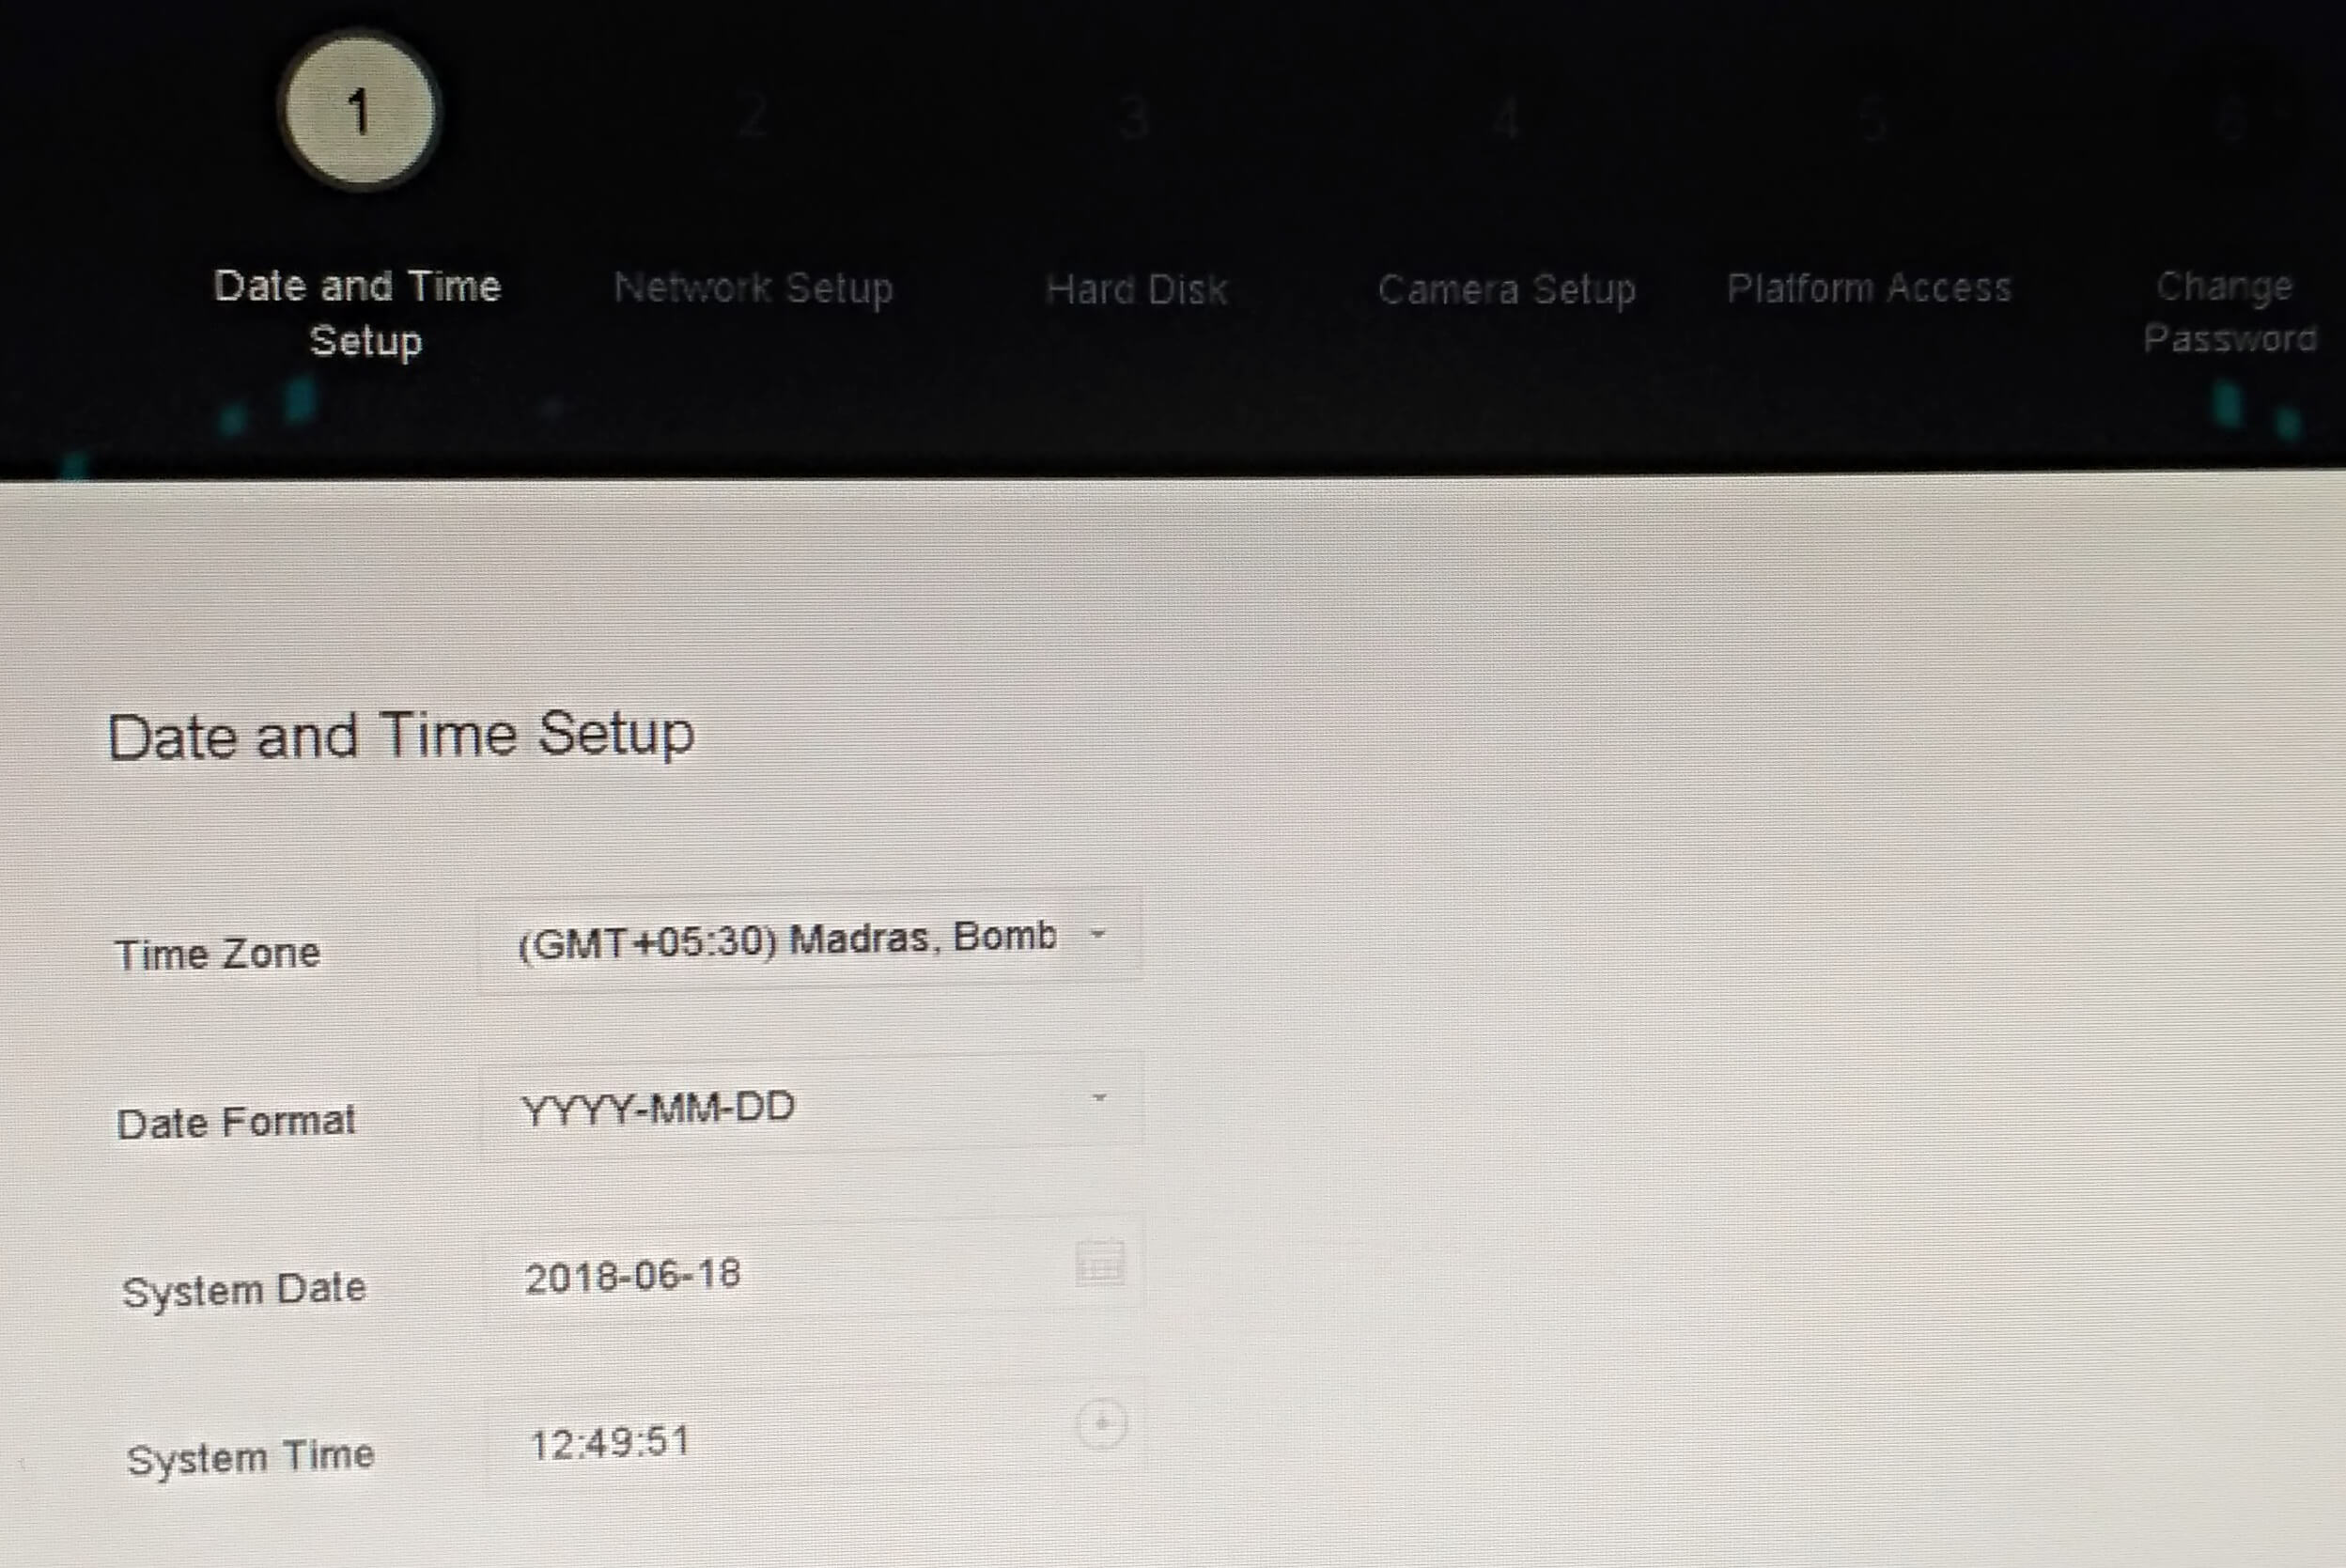
Now let us set up CCTV’s Date and Time setup in NVR. Select the time zone here.
As NVR is a network video recorder, this should be set up as a network. Just set up an IP address, gateway, and DNS in the network. If the LAN cable is attached to the first LAN port of Nvr, then select LAN1 in the NIC.
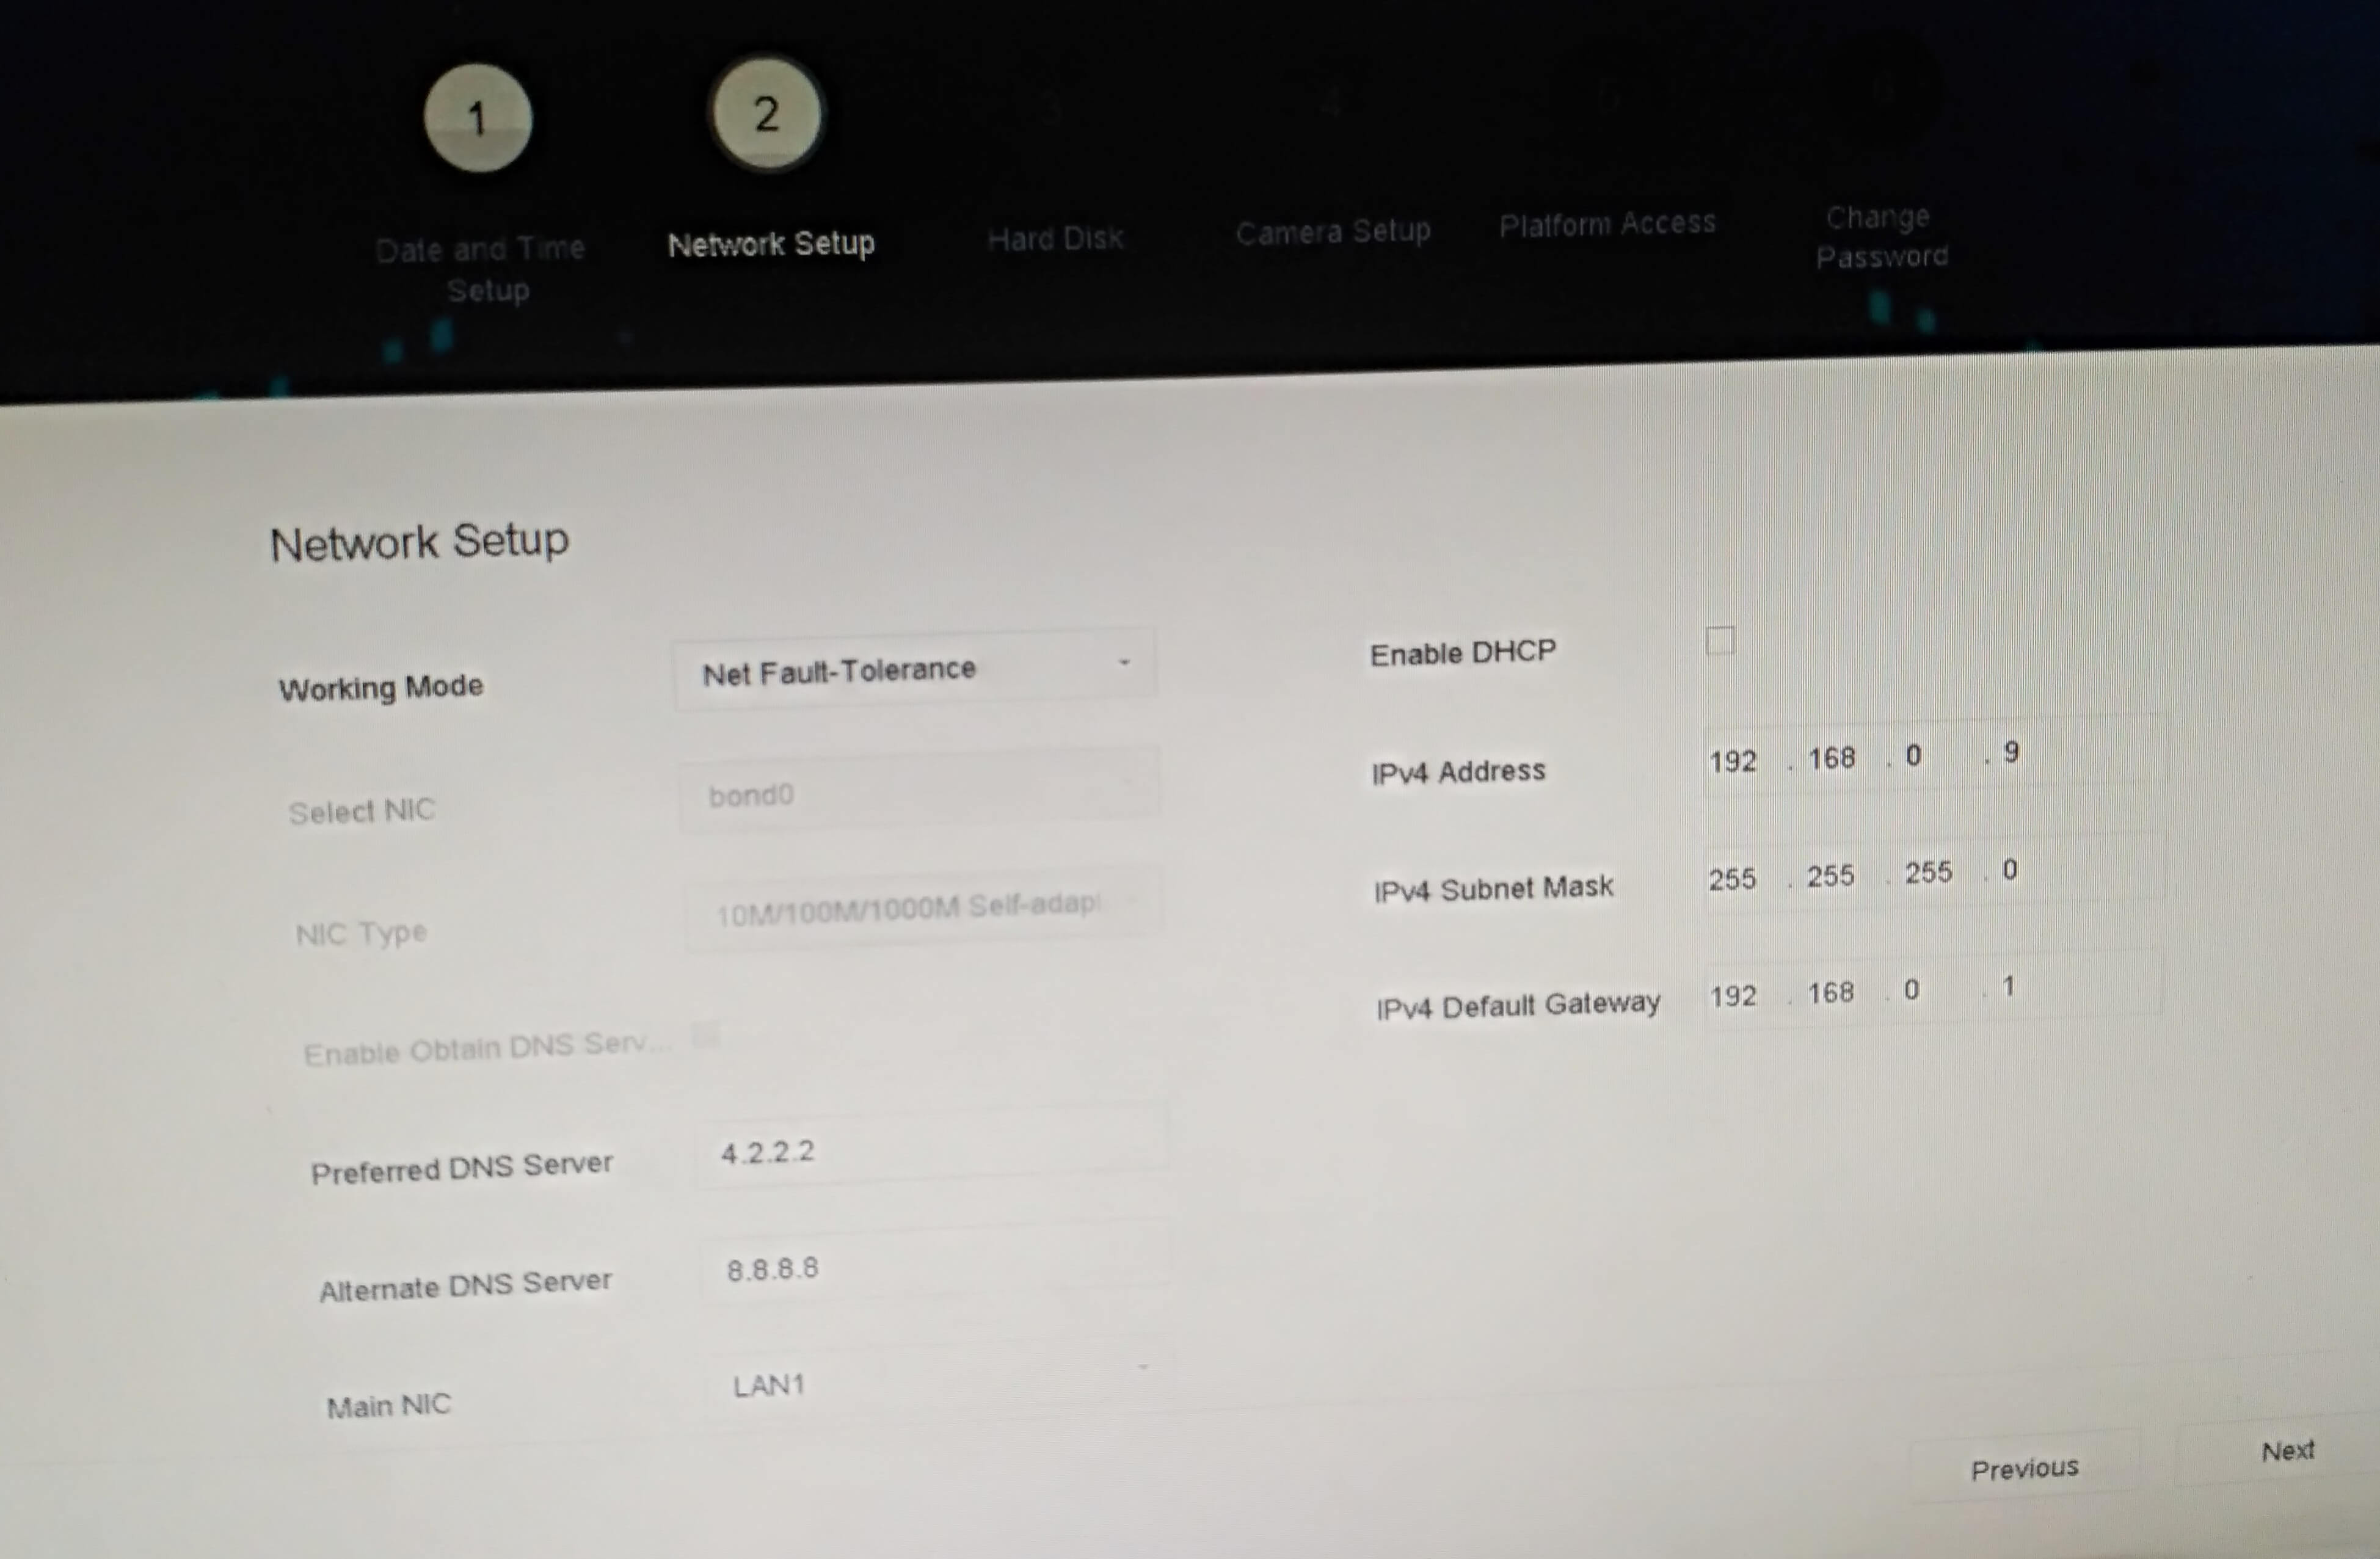
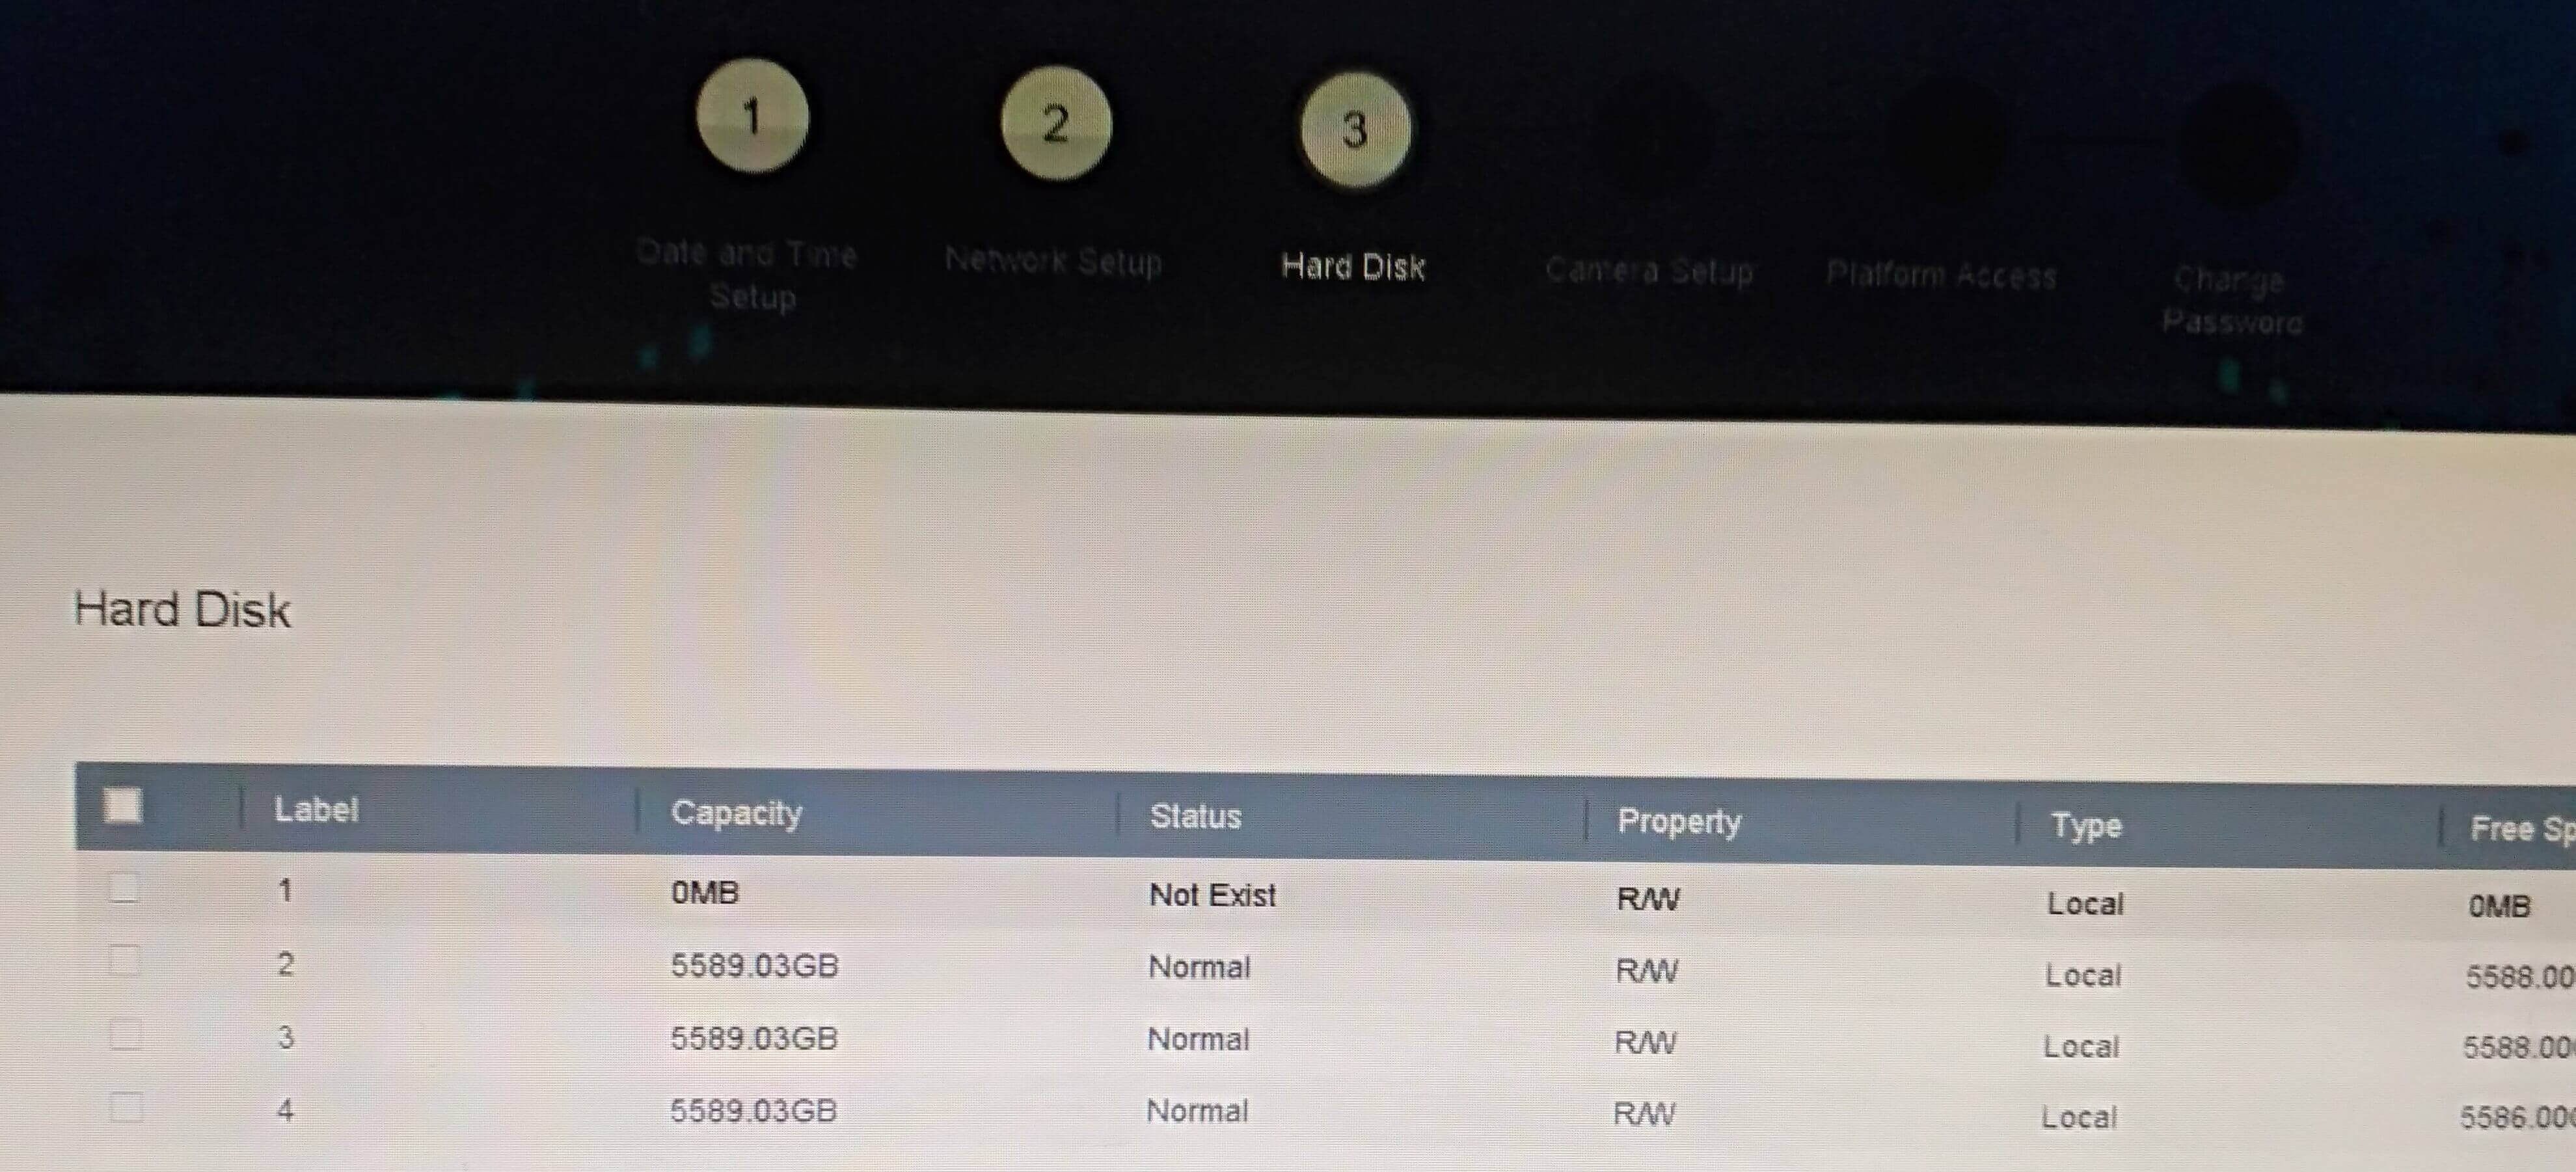
Now let us format the hard disk for CCTV’s video recording storage. Click on initialization (init) to format the hard disk.
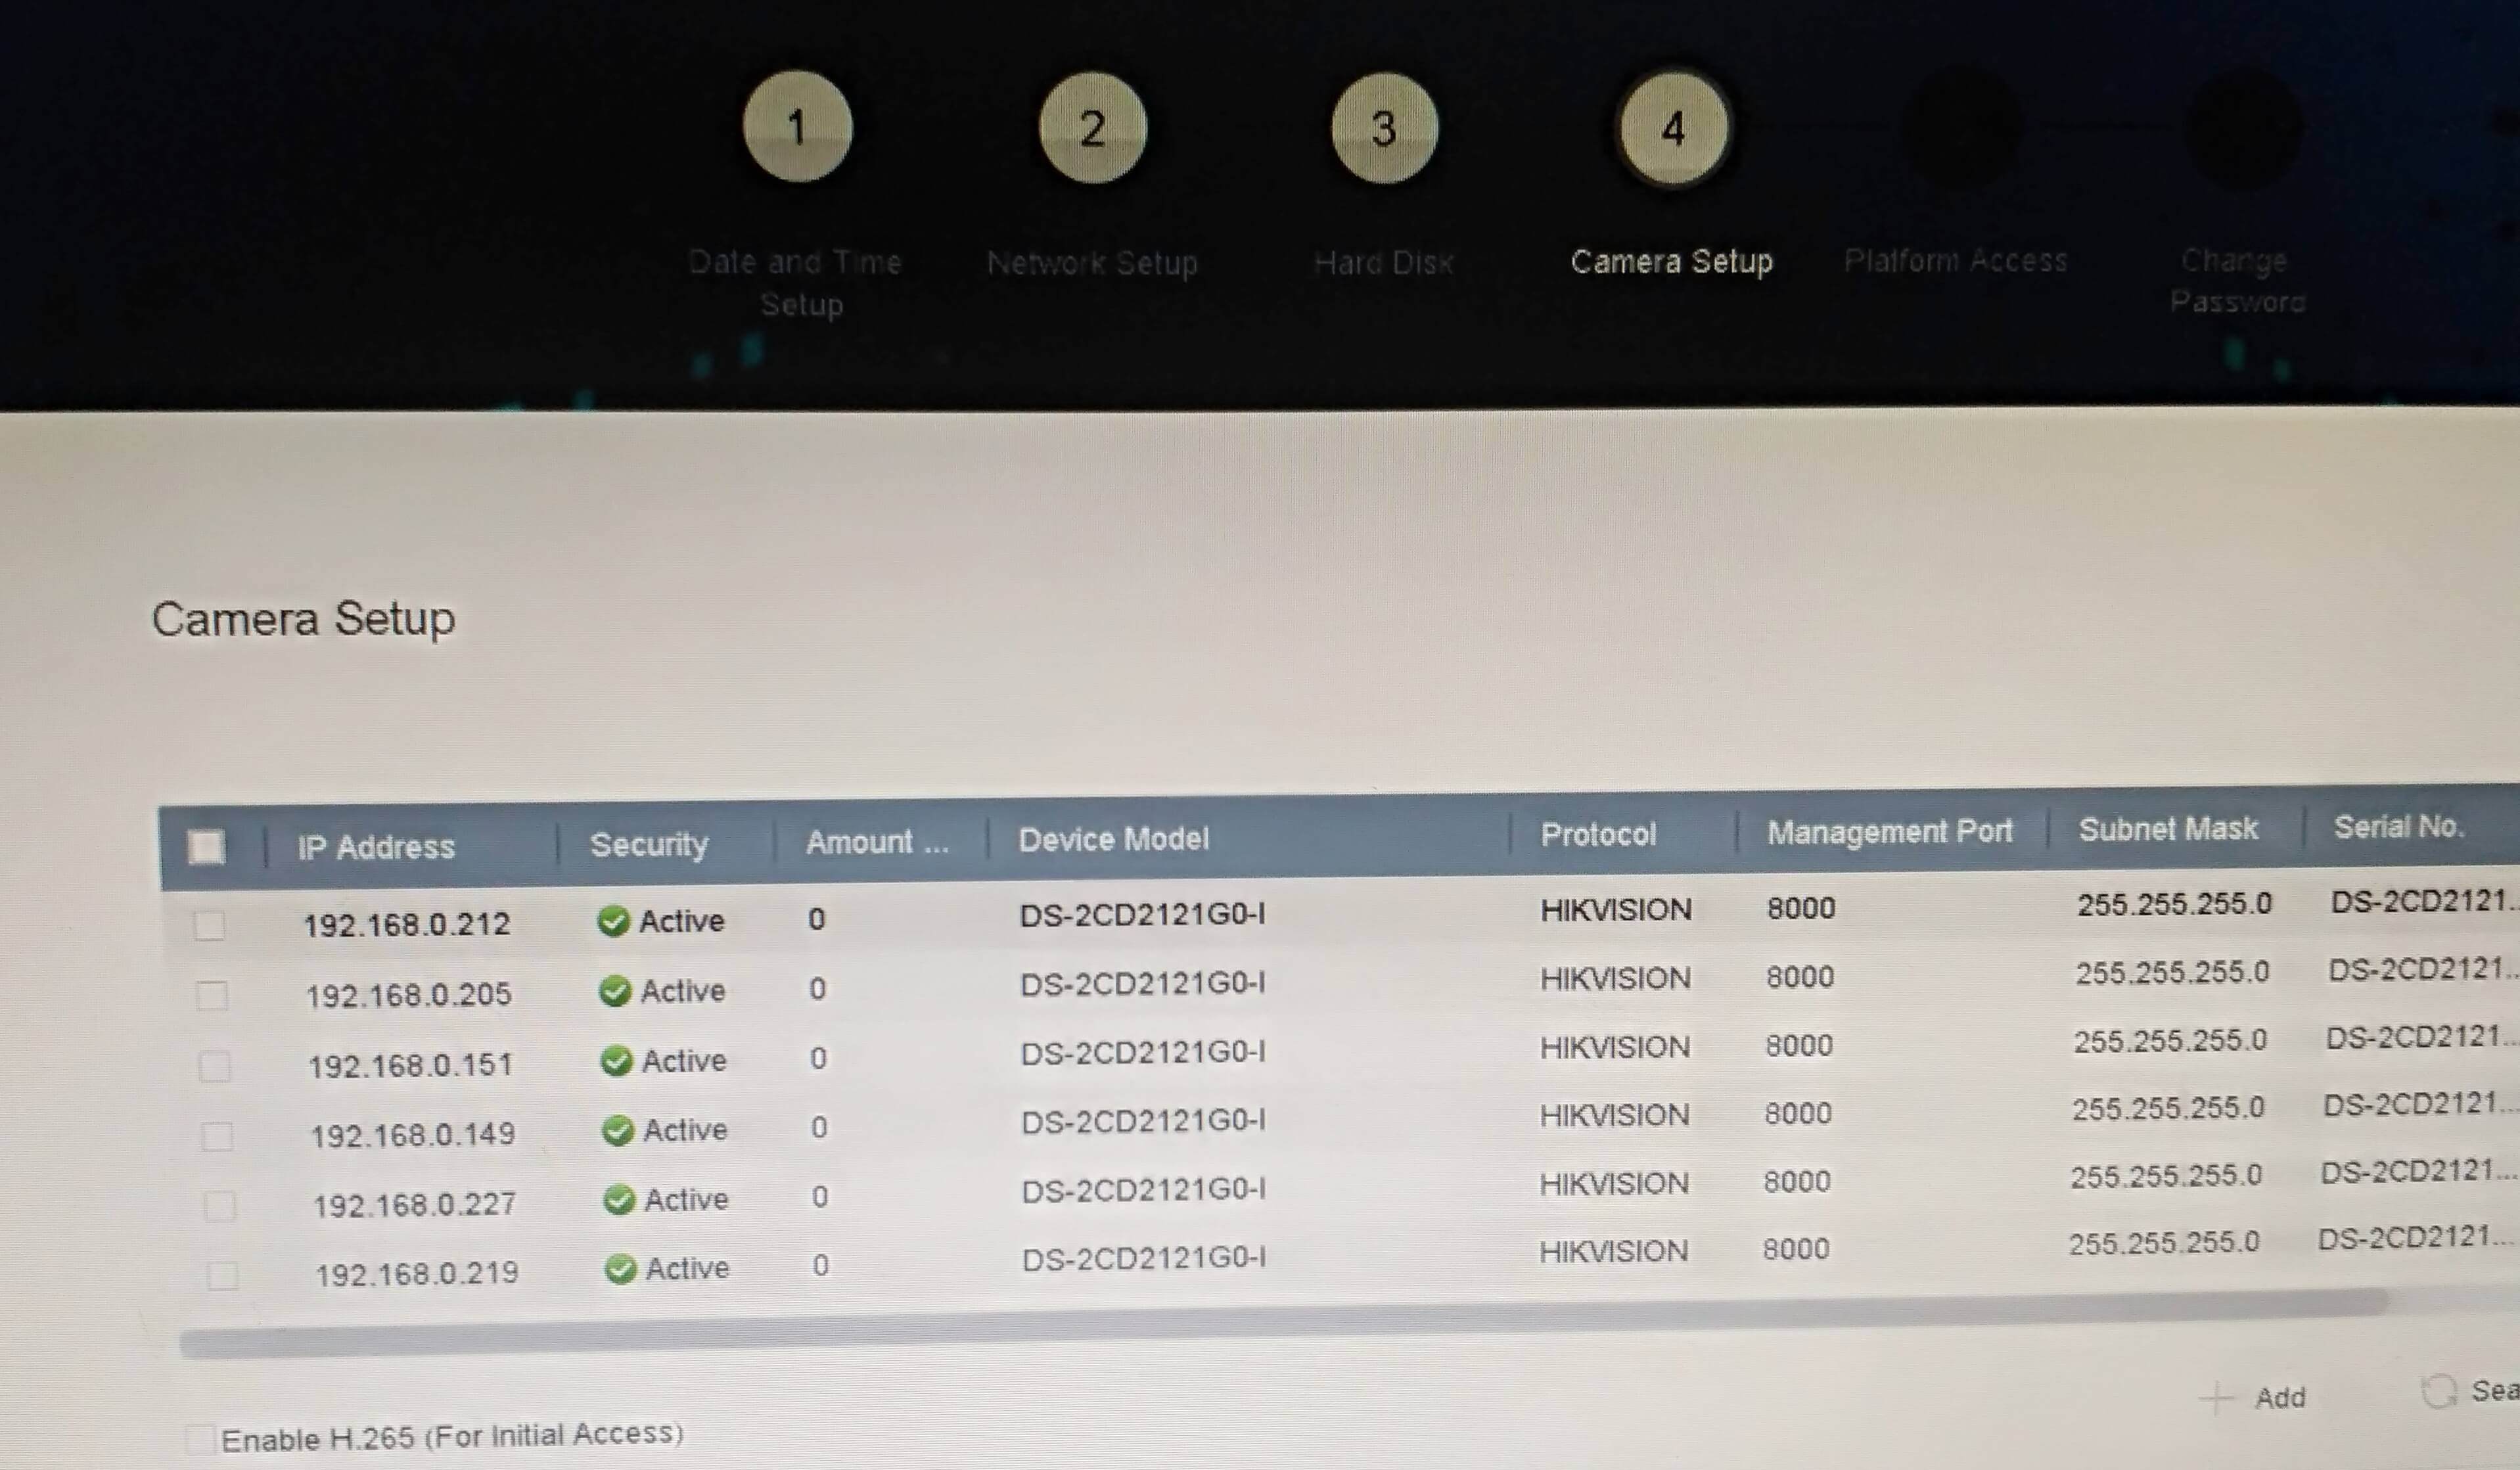
If you have configured Hikvision’s CCTV IP Camera and put it in a Poe switch, it will see the IP address right here. Select a camera and add an IP address so that it will live directly in the NVR.
Also Read- How To Configure Hikvision CCTV IP Camera For NVR.
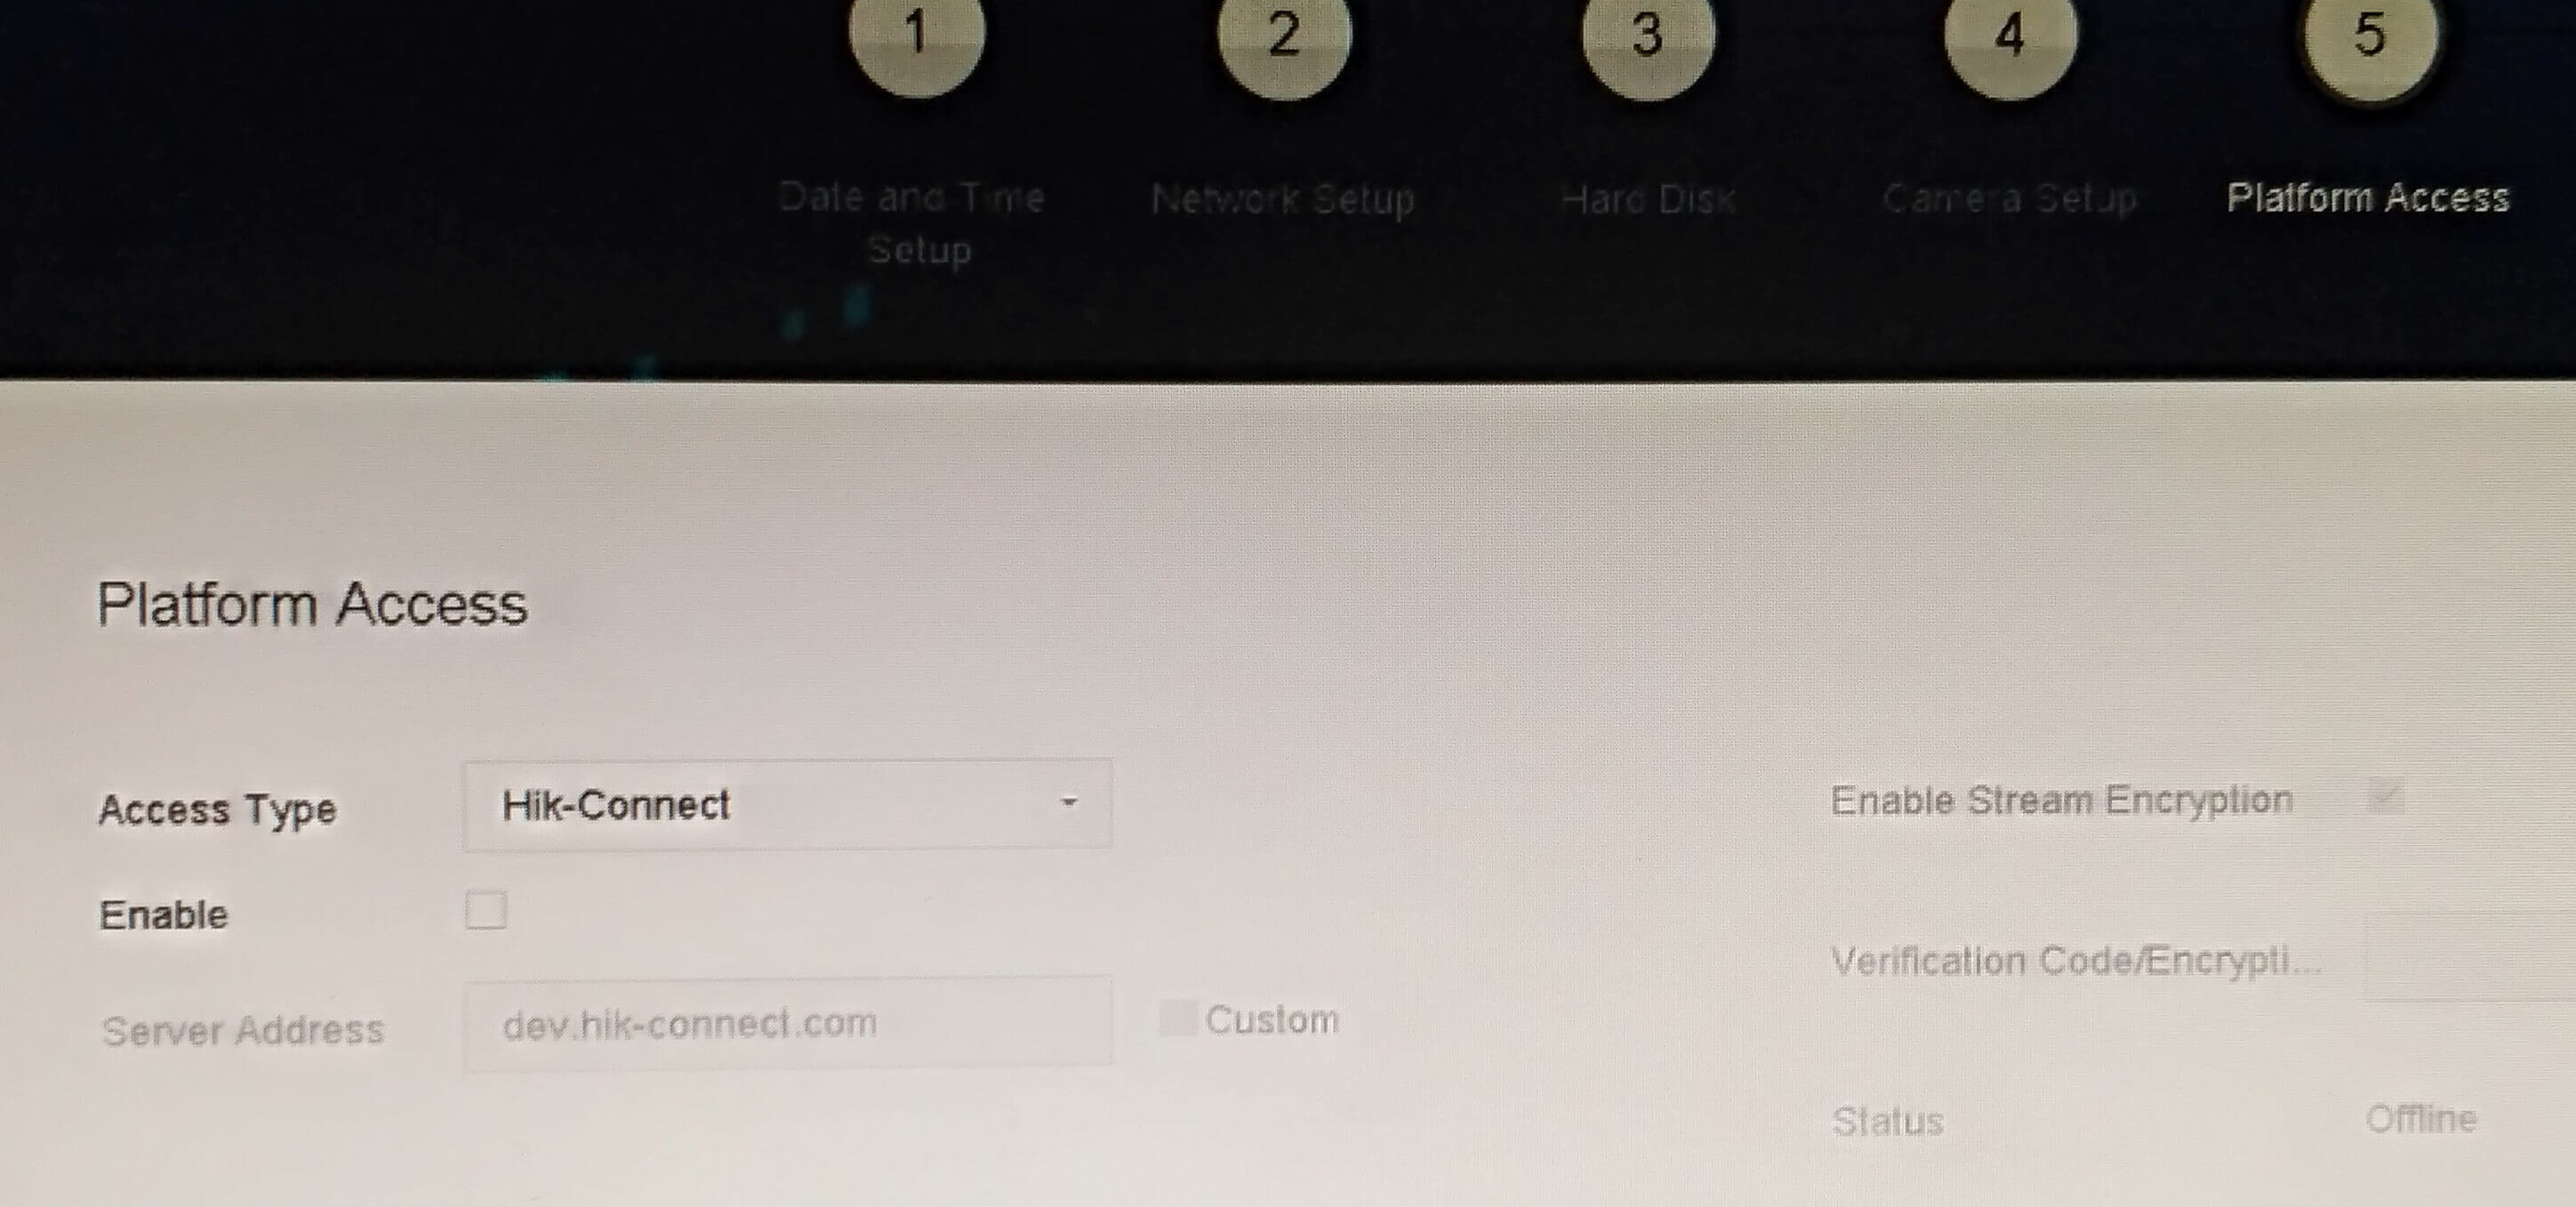
Do not make any changes to Platform Access just by next.
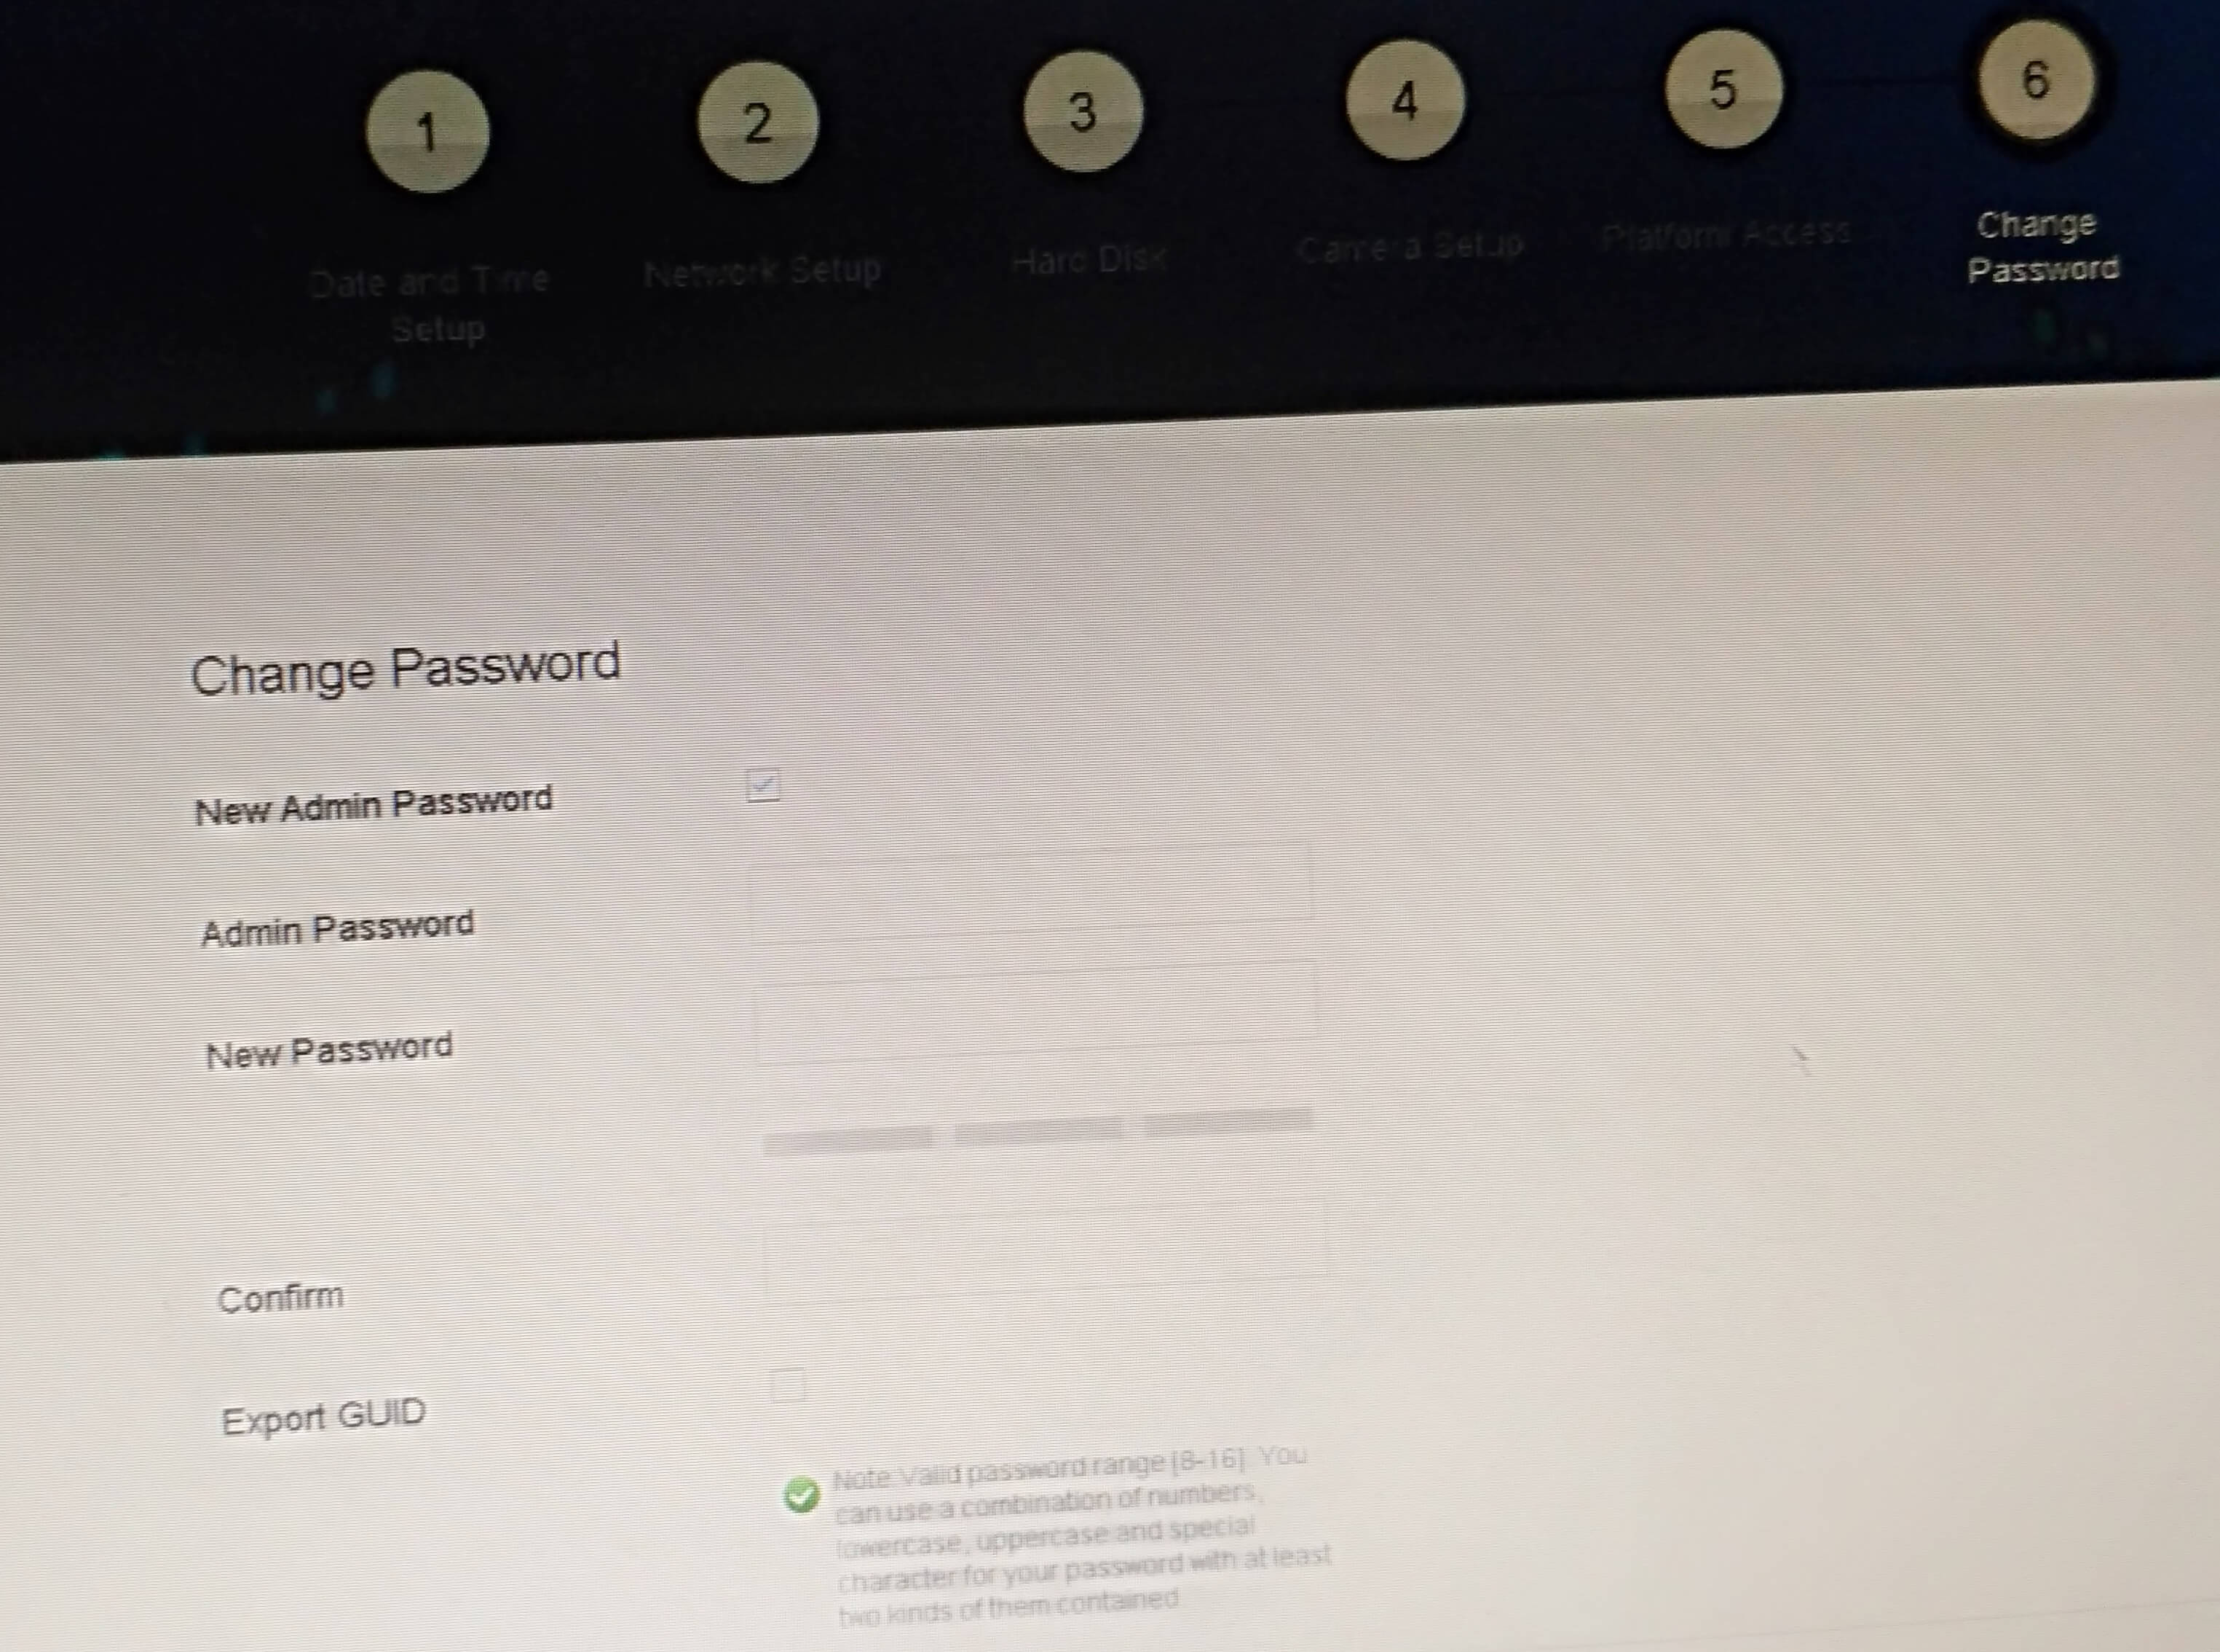
If you want to change the user admin’s password then change it.
That’s all, In this article, we have explained Step By Step Configure Hikvision NVR-DS-8664NI-I8. I hope you enjoy this article. If you like this article, then just share it. If you have any questions about this article, please comment.
